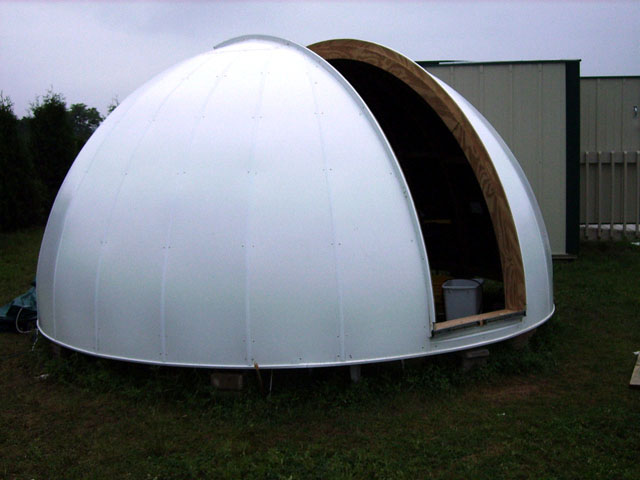
The dome was covered with gores cut from 4X8 masonite panels. I found a type of masonite with a glossy white water resistant coating on one side. This type is normally used as a covering for bathroom walls, so we hoped this would be weather resistant enough to not need additional protection. The gores fit together with white plastic trim connecting strips from the paneling/wall covering section of the hardware store. These have a very tight fit, which helps keep water out and gives an excellent appearance, but the fit is so tight it can be difficult to put the gores together- especially when you get to the last one and don't have a "free" side.
The 8' gores weren't quite long enough to reach the top, so two "polar cap halves" were fitted first at the top.
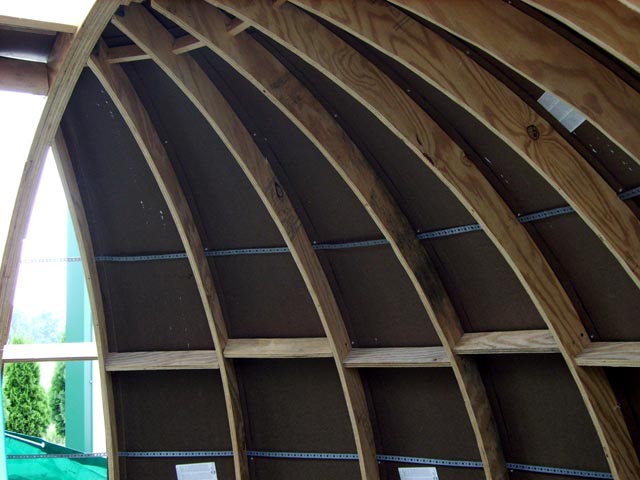
To connect the gores to the ribs, we first cut long 3" wide strips of masonite and screwed them lengthwise to the edges of the ribs (so the rib and strip together had a T shaped cross-section along the whole length), to give a wider surface to attach to. That also helped give a margin of error in positioning, which was good since the ribs were slightly warped (see previous page). After the gores were fit together with the plastic trim connectors, pop rivets were used to attach the gores to the 3" strips.
For the bottom trim, I found a type of trim normally used for the bottom edge of a wall covered in vinyl siding. This was about 2.5" wide, so with the top edge attached to the base ring, the lip on the bottom of the trim (which would normally hold the bottom edge of vinyl siding, but here held the bottom edge of the gores) overhung the base ring. That is needed to help as a weather seal between the dome and base building. Silicone caulk was liberally applied to seal the gore bottom edge in the lip of the trim.
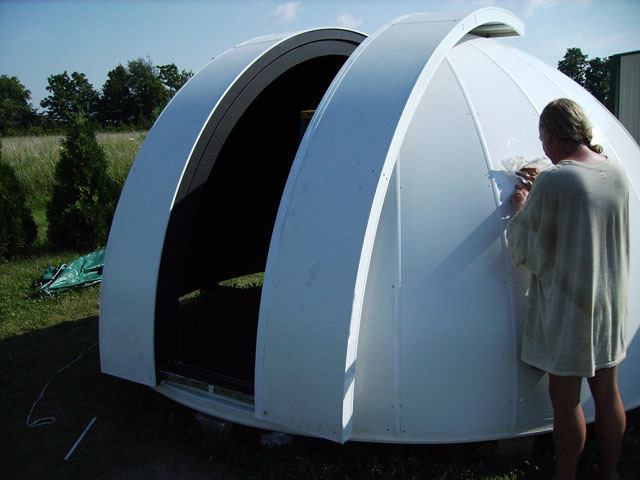
At the bottom of the shutter opening, you can see the rails that are part of the heavy-duty drawer slides I used as shutter bearings. These have ball bearings and a very heavy (70 lbs?) weight limit, but cost only about $10 at the hardware store. They worked extremely well.
To make the shutters, many more arcs were cut from 5/16" plywood and built up three layers thick with glue and screws, to form the side arcs. Then more 5/16" plywood was attached as a sheet between the side arcs. Then the shutters were covered with the same white masonite.
Here the shutters have been added and the interior has been painted black. If you look close you can see some dark discolored spots on the shutters. It turns out the white coating is somewhat delicate, and was easily scratched. Once scratched, water soaks in and damages the masonite. In the end we decided to paint the dome with waterproof rubberized roof paint. Unfortunately we were already planning to move the dome on top of the base building and had a crane truck scheduled, so we had to put that off until after the dome was raised.